Follow Me On Social Media!

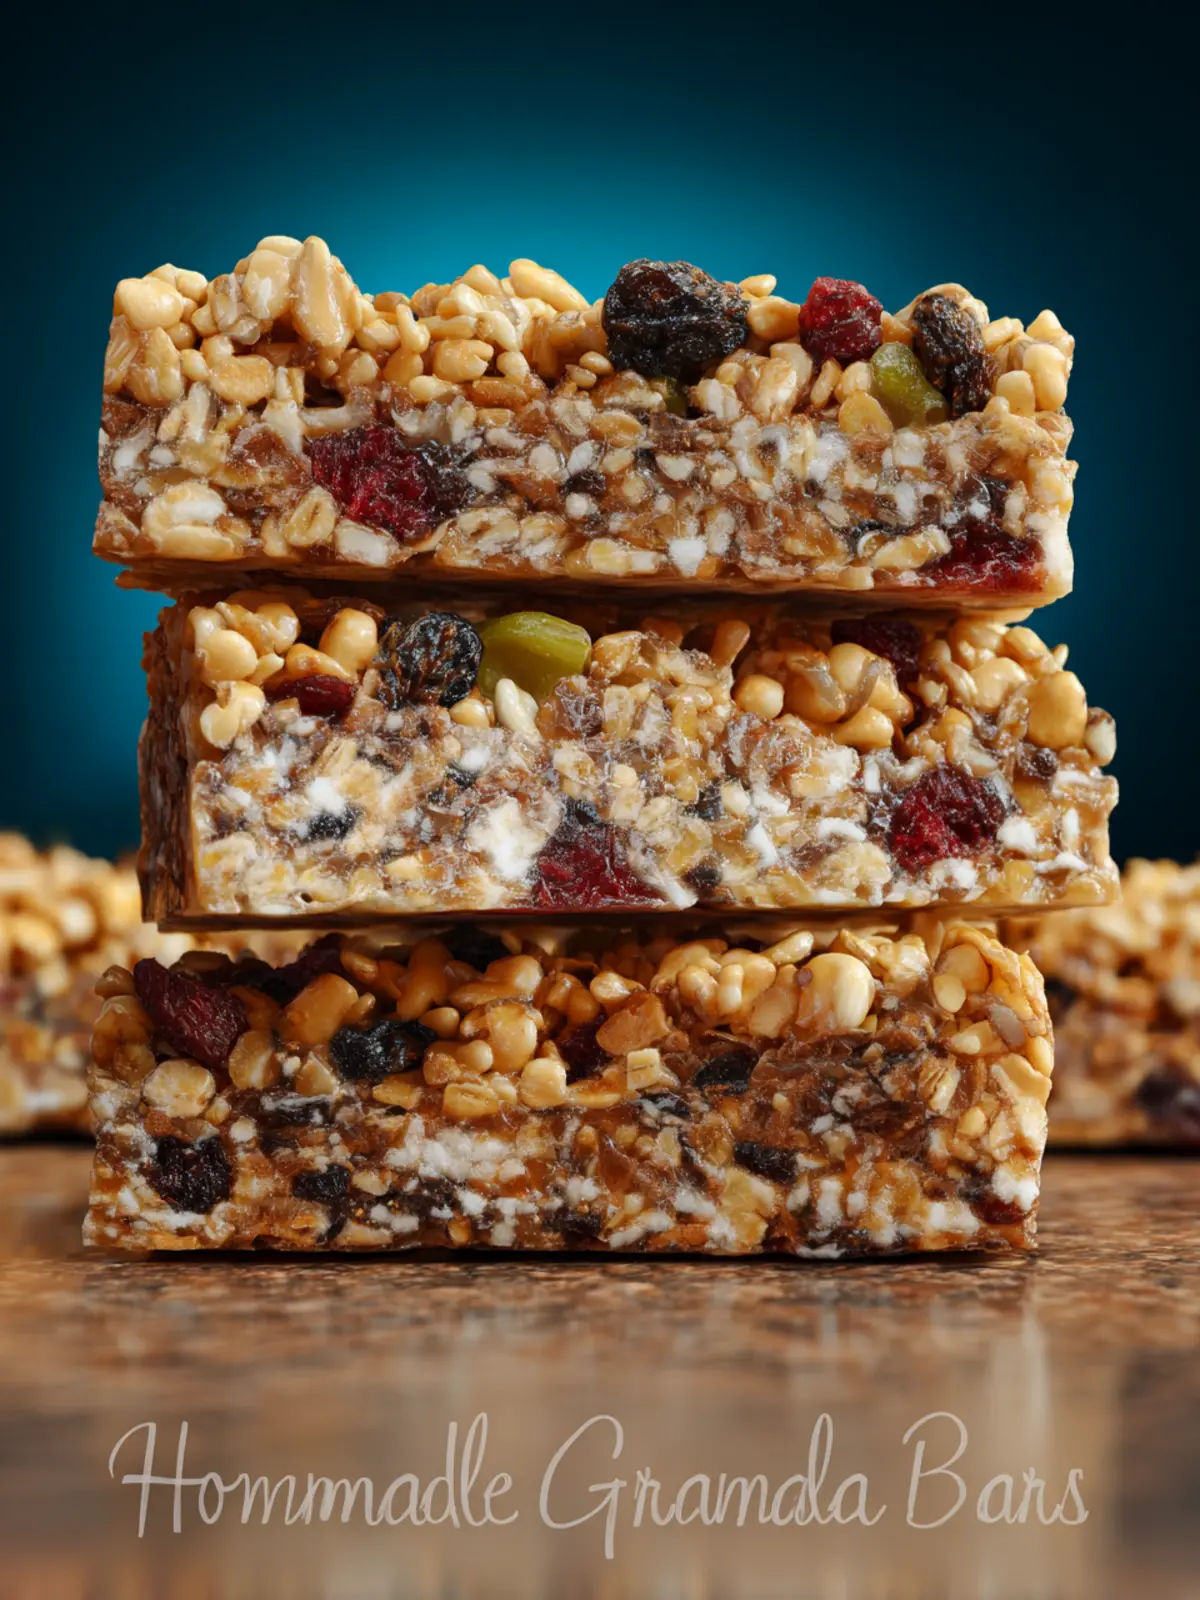
Homemade Granola Bars: The Best Chewy Energy Boost!
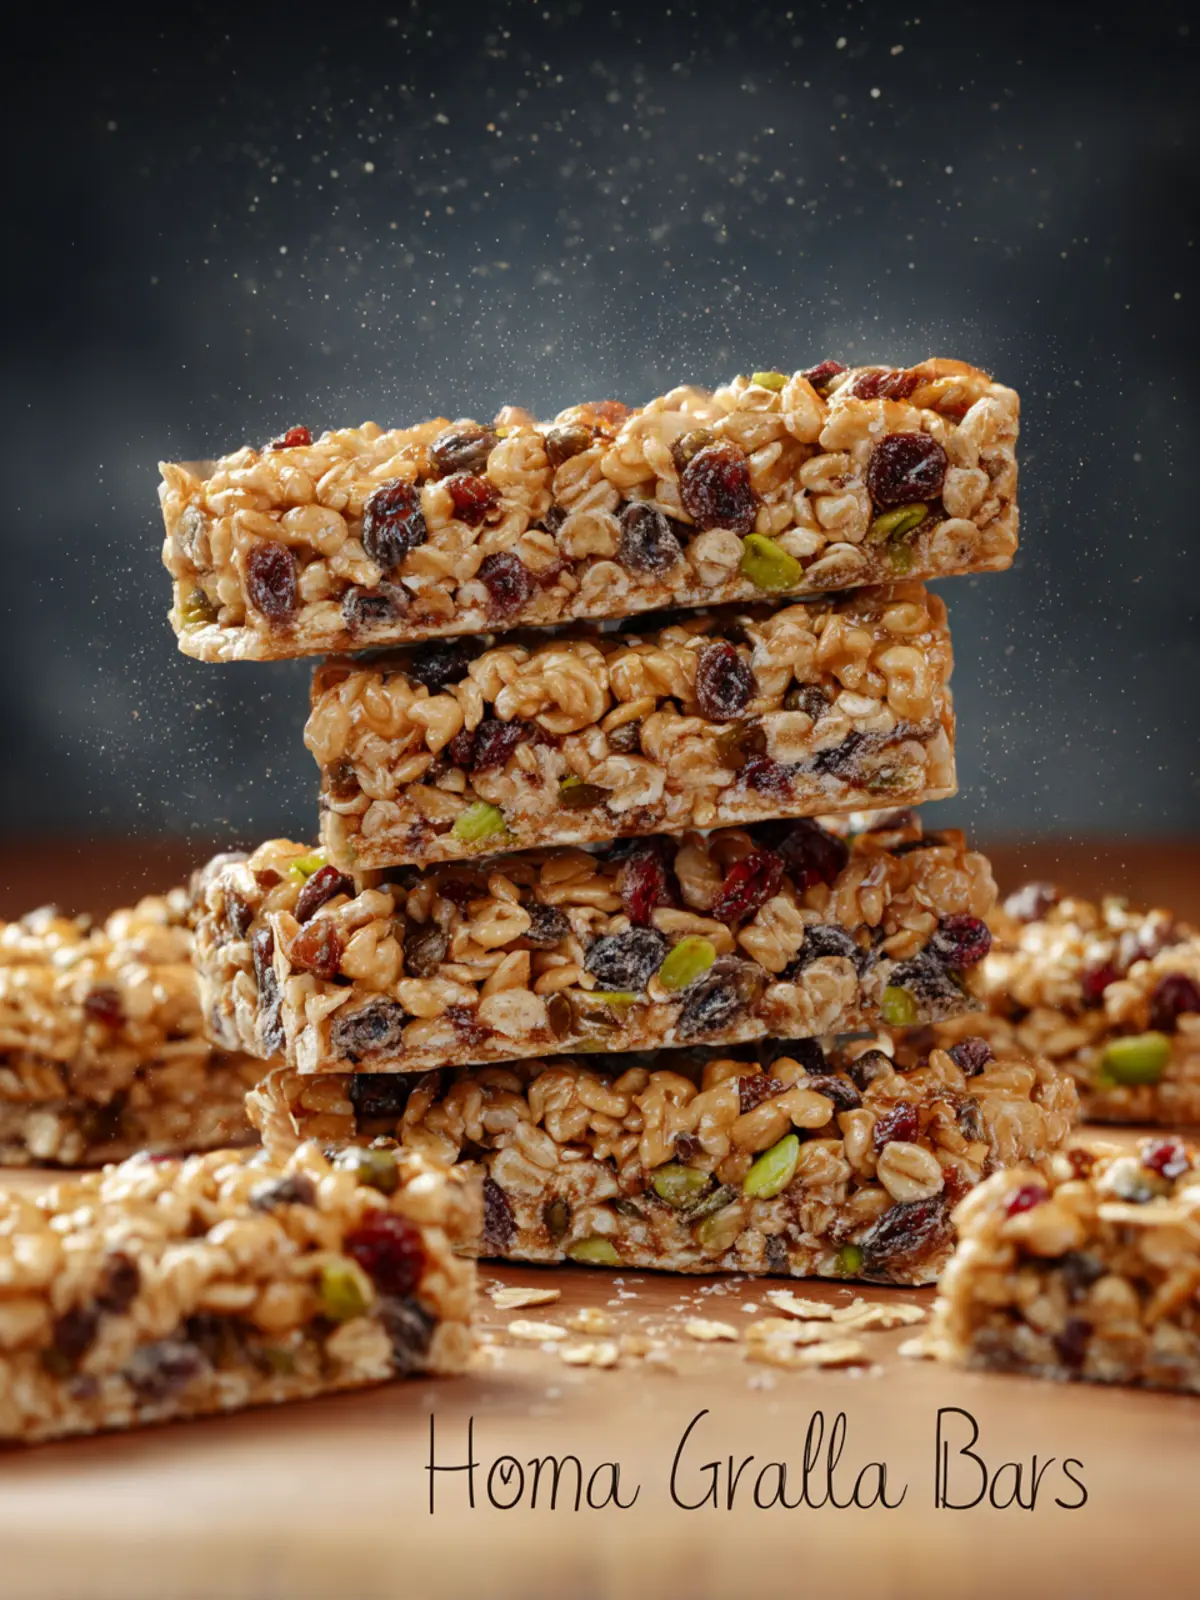
Introduction to Homemade Granola Bars
The delightful crunch of homemade granola bars can transform the mundane moments of our busy lives into deliciously energizing breaks. Picture yourself rushing from one meeting to another, your stomach rumbling and your energy waning. Instead of grabbing a sugary snack from the vending machine, you reach into your bag and pull out a wholesome homemade granola bar, bursting with flavor and nutrients. Not only does it satisfy your hunger, but it also fuels your day with better ingredients tailor-made for your personal taste.
The versatility of homemade granola bars makes them an ideal choice for young professionals who juggle work, workouts, and social lives. When time is tight, and obstacles seem to pop up at every turn, having a stash of these tasty treats at hand means you can easily enjoy a quick breakfast on the go or re-energize during that mid-afternoon slump. Ditching artificial flavors and preservatives found in many store-bought options, these bars can be customized to fit your dietary needs and personal preferences.
Why Granola Bars are Perfect for Busy Lifestyles
-
Convenience: Whether you’re commuting or enjoying a quick snack between tasks, homemade granola bars are easily portable and can be made in advance. Just grab one and go!
-
Nutrition: You have control over the ingredients, allowing you to pack in nutrient-dense items like nuts, seeds, and dried fruits while skipping out on excess sugar.
-
Cost-Effective: Making your own granola bars can significantly reduce your snack budget. With a few pantry staples, you can make batches that will last you through the week.
-
Flavor Options: Customize your bars to fit your taste preferences. From chocolate chips and peanut butter to coconut flakes and honey, the combinations are endless!
By incorporating homemade granola bars into your routine, you’re choosing a smarter alternative that can boost your energy without compromising on taste or quality. So, gather your ingredients and let’s dive into the satisfying world of creating your own granola bars from scratch!

Key Ingredients for Homemade Granola Bars
Creating your own homemade granola bars opens up a world of flavor and nutrition. Each ingredient plays a vital role in achieving that perfect chewy texture and delightful taste, making them a satisfying snack for your busy day.
Butter: I use softened butter to add richness and bind the ingredients together. It’s essential for ensuring your bars maintain their shape, providing a delightful bite.
Honey: As a natural sweetener, honey not only adds sweetness but also acts as the glue that holds the oats and flour together, resulting in a wonderfully chewy texture.
Rolled Oats: The star of our homemade granola bars, rolled oats are packed with fiber and provide a hearty base, making these bars an excellent choice for a quick energy boost.
Whole Wheat or Spelt Flour: I love adding whole wheat or spelt flour for an earthy, nutty flavor while enhancing the nutritional value.
Baking Soda: A tiny pinch of baking soda helps the bars rise slightly during baking, ensuring they aren’t too dense.
Vanilla: Adding vanilla elevates the overall flavor profile, introducing a warm, sweet aroma that enhances each bite.
Add-Ins: The fun part? Customize each batch with a delightful mix of mini chocolate chips, nuts, seeds, or dried fruit to create your own personalized flavors and textures!
Why You’ll Love This Homemade Granola Bars Recipe
Imagine a snack that’s not only delicious but also beneficial for your busy lifestyle—this is exactly what these homemade granola bars offer. Crafted with wholesome ingredients, they provide the perfect balance of nutrition and flavor, making them a go-to treat for anyone on the move. Whether you’re heading to the gym, tackling a long workday, or enjoying a leisurely hike, these bars are your ideal companion.
Wholesome Ingredients at Their Best
-
Oats: The foundation of any good granola bar, oats deliver fiber that keeps you feeling fuller for longer. I prefer rolled oats for their chewy texture.
-
Nuts & Seeds: Adding almonds and chia seeds boosts the crunch factor while providing essential nutrients. These little powerhouses are rich in protein and healthy fats.
-
Sweeteners: A mix of honey and brown sugar not only adds sweetness but also helps bind the ingredients together, creating that delightful chewy experience.
-
Fruits: Dried fruits like cranberries or apricots elevate the flavor profile, providing a splash of natural sweetness and antioxidants.
-
Nut Butter: A dollop of nut butter gives these homemade granola bars their rich, satisfying texture while keeping them energy-dense.
By choosing to make your own granola bars, you’re not just saving money; you’re also controlling what goes into your snacks—no preservatives or artificial ingredients here! So next time hunger strikes, grab a homemade granola bar and feel good about your choice.

Variations to Explore
Exploring variations in your homemade granola bars not only keeps things exciting but allows you to tailor every bite to your taste preferences. Let’s dive into some delightful twists that can transform your bars into the ultimate snack!
Nutty Additions
If you’re a nut lover, don’t hesitate to mix in different types of nuts or seeds. Almonds, walnuts, pecans, or even pumpkin seeds can add a satisfying crunch and boost the protein content. Toasting them lightly before mixing them in elevates the flavor.
Flavor Boosters
Spices can add warmth and depth to your homemade granola bars. Consider cinnamon, nutmeg, or even ginger for an aromatic kick. A dash of vanilla extract can enhance sweetness without additional sugar.
Fruity Swaps
Dried fruit can work wonders in your granola bars. Try cranberries, apricots, or even tropical fruits like mango or papaya for an exotic twist. You can also incorporate fresh fruits into the recipe, like sliced bananas or berries—just be sure to adjust the moisture level accordingly.
Sweetener Alternatives
Explore different sweeteners beyond honey or maple syrup; agave nectar, brown rice syrup, or even coconut nectar can provide unique flavors. If you want to reduce sugar, ripe bananas or unsweetened applesauce might be a great fit.
Each of these variations can help you create your signature homemade granola bars, perfect for any snacking occasion!
Cooking Tips and Notes for Perfecting Your Granola Bars
Creating homemade granola bars can be a rewarding experience that offers endless variations to suit your taste. Here are some essential tips to ensure your granola bars turn out deliciously every time.
Choose the Right Ingredients
- Oats: Use old-fashioned rolled oats for a chewy texture. Instant oats absorb too much moisture and can make the bars overly soft.
- Nut Butters: I prefer almond butter for its creamy consistency, but peanut or sunflower seed butter works wonderfully too. It helps bind the ingredients together while adding flavor.
- Sweeteners: Maple syrup is my go-to for a rich, complex sweetness. However, agave syrup or honey can serve as excellent alternatives if you’re in a pinch.
Know Your Baking Time
Overbaking can lead to dry and crumbly bars, so keep an eye on them! Most granola bars should bake for about 20-25 minutes until they turn golden brown.
Cooling Matters
Let your bars cool completely in the pan before slicing. This helps them set and makes them easier to handle later on.
Storage Tips
Store your homemade granola bars in an airtight container to keep them fresh. They can last up to a week at room temperature or longer if refrigerated.
By following these tips, you’ll be well on your way to perfecting your homemade granola bars that friends and family will love!
Serving Suggestions for Homemade Granola Bars
When you create your own homemade granola bars, you open up a variety of delicious serving possibilities that can elevate your snack experience. These bars are incredibly versatile, offering a delightful crunch and a wholesome boost at any time of day.
Enjoy Them as an On-the-Go Snack
Perfect for busy mornings, grab a bar on your way out the door. Pairing your granola bar with a piece of fruit, like a banana or an apple, provides a refreshing and energy-packed snack that keeps you fueled throughout your day.
Pair with Yogurt
For a satisfying afternoon treat, crumble your homemade granola bars into a bowl of yogurt. Adding fresh berries and a drizzle of honey not only enhances the flavor but also creates a fantastic balance of textures. It’s like having dessert that’s guilt-free!
Crushed Topping for Smoothies
Feeling adventurous? Blend them into smoothies for added texture. The extra crunch from the granola can turn an ordinary smoothie into a delightful and filling meal.
With these serving ideas, your homemade granola bars won’t just be a snack; they’ll become a cherished part of your daily routine!
Time Breakdown for Making Granola Bars
Making your own homemade granola bars is both satisfying and fun! Understanding how long each step takes can help you plan your kitchen time better, so let’s break it down.
Preparation Time
Getting everything ready takes about 15 minutes. Measure your ingredients and mix them up properly for maximum flavor.
Baking Time
Once your mixture is ready, pop it into the oven! The baking time is around 25 to 30 minutes, allowing those delicious ingredients to meld together perfectly.
Cooling Time
Patience is key: let the granola bars cool for about 20 minutes before cutting to ensure they firm up for a perfect bite.
Total Time
In total, you’re looking at 1 hour and 5 minutes from start to finish, which isn’t too bad for such a delightful and nutritious snack!
Nutritional Facts About Homemade Granola Bars
Let’s dive into the nutritional facts about homemade granola bars, where health meets deliciousness. These treats don’t just satisfy your sweet tooth; they provide a fantastic nutritional profile that fuels your day.
Calories
Each homemade granola bar is approximately 150 calories, making them a satisfying yet manageable snack option. Perfect for a midday pick-me-up without derailing your healthy eating plan!
Protein
Packed with about 4 grams of protein per bar, these homemade granola bars offer a great source of energy. This protein boost can help keep you full and support your active lifestyle.
Dietary Fiber
With around 3 grams of dietary fiber, these bars contribute to your daily fiber needs. Fiber is essential for digestion and helps maintain steady energy levels, making these bars ideal for those busy days.
Enjoy your homemade treats with the knowledge that they’re both tasty and nutritious!
FAQ About Homemade Granola Bars
Creating your own homemade granola bars can be a rewarding experience, but questions often arise. Here’s a handy FAQ to guide you through the delicious process of crafting these nutritious snacks.
How can I adjust the sweetness of these bars?
If you prefer sweeter bars, simply increase the amount of your chosen sweetener, like honey or maple syrup. Alternatively, for a less sweet option, reduce the sweetener by a tablespoon or two. Experimentation can yield your perfect balance.
Can I make these granola bars gluten-free?
Absolutely! To keep your homemade granola bars gluten-free, use certified gluten-free oats. Many grocery stores offer these options, ensuring you can enjoy the chewy texture without the gluten concern.
How long do homemade granola bars last?
When stored properly, your homemade granola bars should stay fresh for about one week at room temperature. For longer storage, consider freezing them, which can extend their shelf life up to three months.
What’s the best way to store granola bars?
To keep your bars fresh, store them in an airtight container. If they’re individually wrapped, just layer them with parchment paper in between to prevent sticking. This keeps their texture intact and allows for easy grabbing on busy mornings.
Can I freeze homemade granola bars?
Yes, freezing is a fantastic option! Just wrap each bar tightly in plastic wrap or place them in a freezer-safe bag. When you need a snack, pull one out and let it thaw, or enjoy it straight from the freezer for a refreshing treat!
Conclusion on Homemade Granola Bars
Crafting your own homemade granola bars is not just about creating a snack; it’s an invitation to get creative in the kitchen. These bars are the perfect blend of flavor and nutrition, allowing you to choose the ingredients that resonate with your taste. With no preservatives or artificial additives, you can ensure that every bite is wholesome. Plus, customizing your recipe opens up endless possibilities, making snack time a delightful adventure. So next time you’re looking for a quick bite, remember how simple it is to whip up your own homemade granola bars—healthy snacking starts here!
Print
Oatmeal Honey Bars
- Total Time: 35 minutes
- Yield: 12 bars 1x
- Diet: Vegetarian
Description
These delicious oatmeal honey bars are perfect for a quick snack or dessert!
Ingredients
Scale
- 1 cup butter (softened)
- 1 cup honey
- 4 1/2 cups rolled oats
- 1 cup whole wheat or spelt flour
- 1 tsp baking soda
- 1 tsp vanilla
- Add ins of choice (mini semi-sweet chocolate chips, chopped walnuts, dried fruit, sunflower seeds, coconut, etc.)
Instructions
- Preheat oven to 325 degrees. Grease a 9″x13″ glass baking dish with butter.
- In a large mixing bowl, combine butter and honey and mix well (I just use a plastic or wooden spoon to mix).
- Add the oats, flour, baking soda, and vanilla and mix well.
- Stir in the add-ins by hand.
- Pour the mixture into the baking dish and press it firmly into the pan (and you can even use your hands for this part!).
- Bake at 325 degrees for 15-20 minutes or until golden brown. They won’t look or feel “done,” but instead they will still be very moist. Don’t worry, they’ll harden as they cool.
- Allow the bars to cool for at least 10 minutes before cutting into bars. Let them cool completely before removing and serving.
- They can be stored at room temperature or you can even freeze them for later use.
Notes
- Store leftovers in an airtight container.
- These bars can be customized with different add-ins based on your preference.
- Prep Time: 15 minutes
- Cook Time: 20 minutes
- Category: Dessert
- Method: Baking
- Cuisine: American
Nutrition
- Serving Size: 1 bar
- Calories: 180
- Sugar: 12g
- Sodium: 50mg
- Fat: 8g
- Saturated Fat: 5g
- Unsaturated Fat: 2g
- Trans Fat: 0g
- Carbohydrates: 23g
- Fiber: 2g
- Protein: 3g
- Cholesterol: 30mg