Follow Me On Social Media!

Candy Cane Icebox Cake: Indulge in a Festive Delight!
Introduction to Candy Cane Icebox Cake
When the festive spirit of the holidays approaches, few desserts can embody the essence of the season quite like a Candy Cane Icebox Cake. This delightful treat captures the charm of holiday gatherings with its layers of creamy goodness and bursts of minty flavor, leaving everyone in a joyful daze of nostalgia. Imagine sitting around a cozy fire, surrounded by friends and family, as you indulge in this no-bake wonder. It’s a dessert that not only delights your taste buds but also creates cherished memories.
What makes Candy Cane Icebox Cake a holiday favorite?
The Candy Cane Icebox Cake is a celebration of everything we love about the holidays. Its combination of rich chocolate and refreshing peppermint transcends seasonal tastes, making it suitable for any winter event. Here are some reasons why it stands out:
-
Easy to Prepare: This cake requires no baking, allowing you to spend more time with loved ones. Simply layer a few quality ingredients, and you’re all set!
-
No Mess, No Fuss: The process is straightforward, ensuring that you can whip it up without any complicated techniques. It’s a great way for both seasoned bakers and novices to shine in the kitchen.
-
Customizable Layers: While this recipe is fantastic as is, the versatility of a Candy Cane Icebox Cake means you can play around with flavors. Add chocolate chips, or use different cookie types for variety—there are endless possibilities!
-
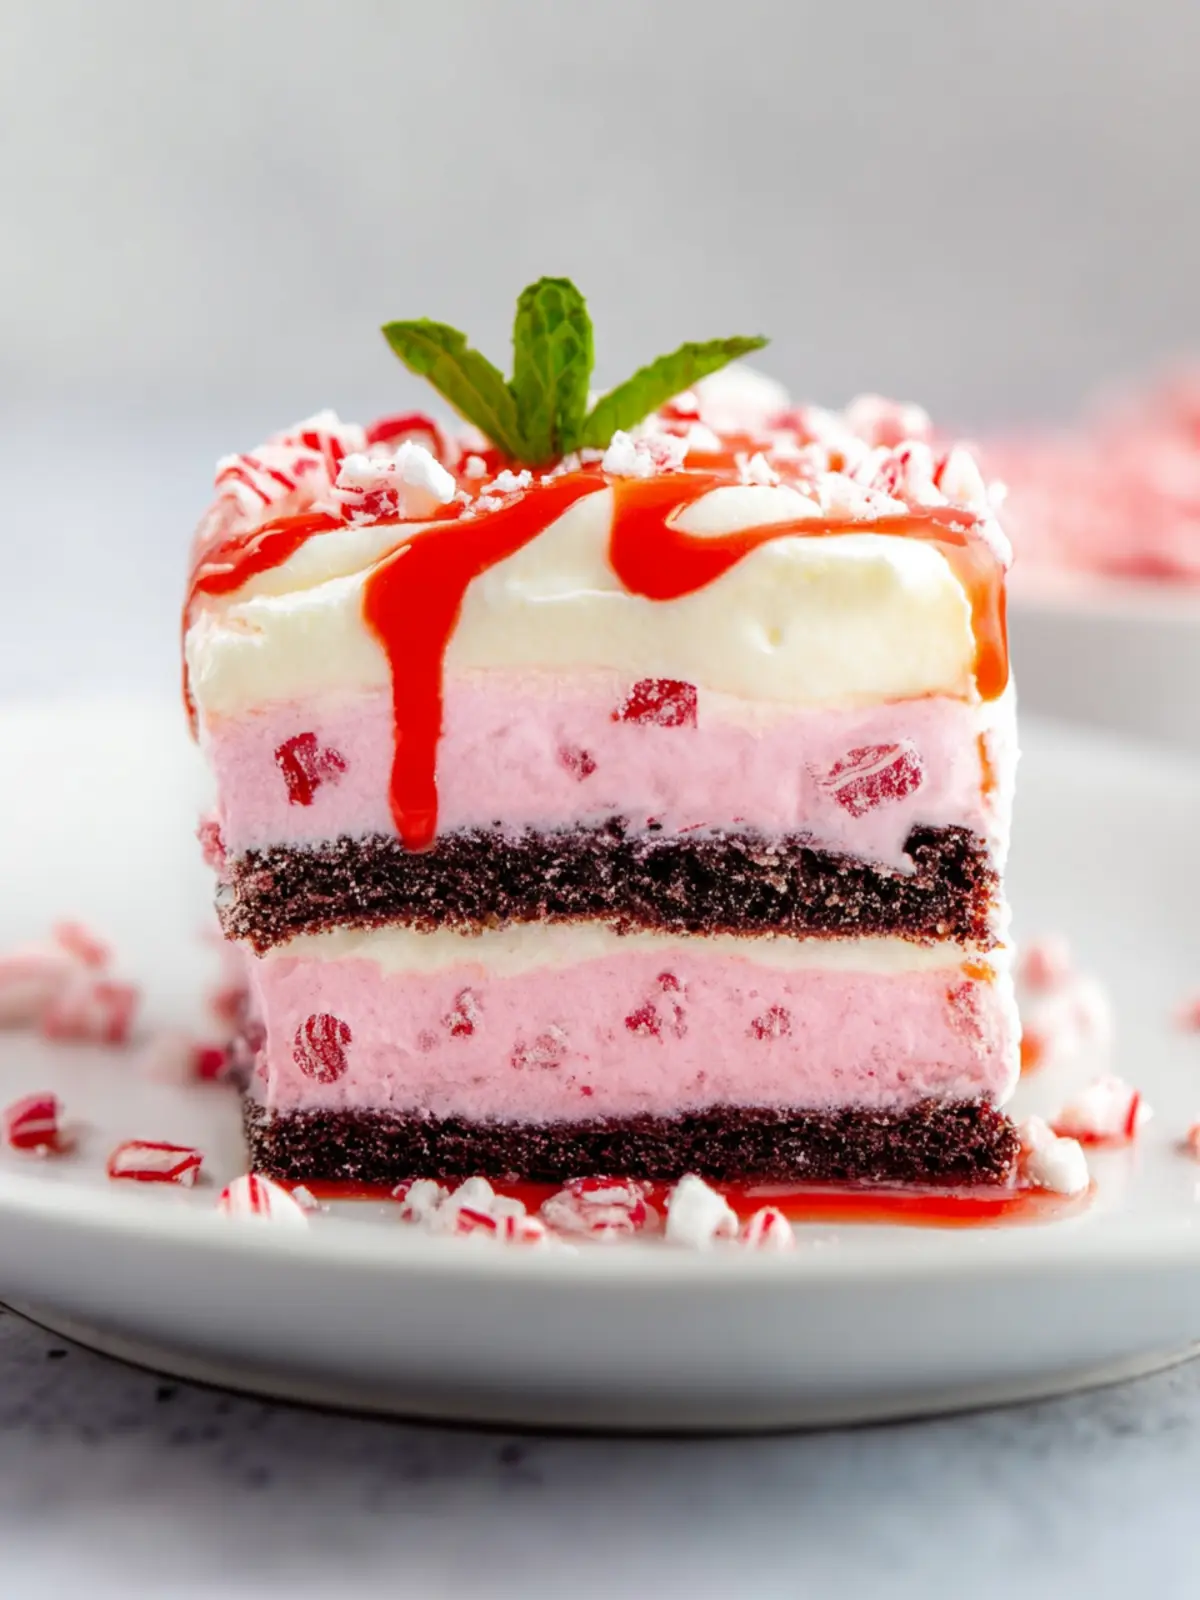
A Festive Visual: Not only is it delicious, but the layers of red and white often make it look as Christmassy as it tastes. Serving this cake is sure to impress guests during holiday gatherings.
-
Minty Freshness: The invigorating kick of peppermint from candy canes makes this cake a refreshing end to a festive meal, revitalizing you with every creamy bite.
Incorporating a Candy Cane Icebox Cake into your holiday celebrations isn’t just about dessert; it’s about creating moments full of joy, laughter, and delectable flavors, capturing the essence of the season effortlessly.

Key Ingredients for Candy Cane Icebox Cake
Creating a delightful candy cane icebox cake is all about selecting the right ingredients that bring out the festive spirit. This no-bake dessert perfectly combines creamy layers with a refreshing minty crunch. Let’s dive into the components that make this dessert shine.
Whipped Cream
I use heavy whipping cream, which is essential for achieving that light and fluffy texture. Whipping the cream to soft peaks ensures that the cake has a light and airy mouthfeel. If you want to save some time, store-bought whipped cream can also work in a pinch!
Chocolate Wafer Cookies
Chocolate wafer cookies serve as the base and provide a rich, chocolatey flavor that pairs exceptionally well with the peppermint. Opt for high-quality cookies for the best texture. You could even crush some for a crust element, adding a bit of crunch.
Peppermint Extract
A splash of peppermint extract is the secret ingredient that gives the candy cane icebox cake its signature refreshing flavor. It’s best to use pure extract for a bold taste—just a little goes a long way!
Crushed Candy Canes
No candy cane cake would be complete without crushed candy canes! They not only enhance the minty flavor but also add a festive touch and crunchy texture. You can easily crush them using a plastic bag and a rolling pin.
Powdered Sugar
Powdered sugar is crucial for sweetening the whipped cream without any granulation. It helps create a smooth texture while also stabilizing the whipped cream for a perfect finish.
By carefully selecting these key ingredients, you’ll create a candy cane icebox cake that’s sure to delight friends and family at any holiday gathering.
Why You’ll Love This Candy Cane Icebox Cake
Imagine a dessert that captures the essence of the holidays in every bite—this candy cane icebox cake does just that. With its layers of velvety goodness and festive flair, it’s more than just a cake; it’s a delicious centerpiece for any holiday gathering. Each bite envelops you in the creamy texture of whipped cream and the refreshing crunch of candy canes, creating a flavor combination that feels both cozy and celebratory.
Effortless and Enjoyable
One of the best aspects of this candy cane icebox cake is its simplicity. You don’t need to be a pastry chef to whip it up! With just a handful of ingredients, it’s an approachable dessert that allows even novice bakers to shine. The most challenging part? Sticking to the waiting game while it chills in the refrigerator!
Perfect for Gatherings
This cake is not only a treat for your taste buds but also for the eyes. Its beautiful layers create a stunning visual that will impress your guests. Whether it’s for a festive party or a cozy family dinner, it’s bound to spark conversations and happy moments.
Customizable Delight
Lastly, the candy cane icebox cake is incredibly versatile. Feel free to swap in your favorite flavors or toppings to make it uniquely yours. The opportunities are endless, making it a fun addition to your holiday traditions. Who wouldn’t love a dessert that’s both classic and customizable?

Tips for Making the Perfect Candy Cane Icebox Cake
Creating a delightful candy cane icebox cake is not just about following the recipe; it’s about infusing your own twist and enjoying the experience. Picture a cozy evening filled with laughter and the joyful spirit of the holidays. Here are some tips to ensure your cake dazzles at any gathering.
Choose Quality Ingredients
For the best flavor, utilize high-quality whipping cream. Fresh cream can elevate your cake’s richness, lending a creamy texture that pre-packaged options just can’t match. Also, opt for real peppermint extract instead of imitation; it adds a more authentic flavor, enhancing the festive experience.
Assembly Matters
When layering your candy cane icebox cake, be generous with the crushed candy canes. Not only do they add a festive crunch, but they also bring that classic peppermint flavor right through each slice. A pro tip? Use a serrated knife to slice the cake. This ensures that you get clean, beautiful cuts without squishing the layers.
Chill Time is Essential
Patience is key. Allow your cake to chill for at least 6 hours, but overnight is even better. The longer it sits, the more the flavors meld together, creating a truly harmonious dessert. This waiting period also helps soften the cookies, creating that wonderful icebox cake texture.
Presentation Tips
For an extra festive touch, garnish your candy cane icebox cake with additional whipped cream and a sprinkle of crushed candy canes just before serving. This not only elevates the visual appeal but also invites everyone to dig in.
With these tips, your candy cane icebox cake is bound to impress your family and friends, creating sweet memories to cherish!
Time Details for Candy Cane Icebox Cake
Creating a delightful candy cane icebox cake doesn’t just bring holiday cheer to your table; it also fits perfectly into your busy schedule. With just a little planning, you can have this festive dessert ready to impress family and friends.
Preparation time
The prep time for your candy cane icebox cake is about 20 minutes. This is when you’ll be mixing your layers, and eagerly anticipating the deliciousness to come.
Chilling time
Next, set aside at least 4 hours (or ideally, overnight) for chilling. This is where the cake transforms as the layers meld and the flavors deepen, creating an irresistible treat.
Total time
So, when you add it all up, you’ll need approximately 4 hours and 20 minutes total (if chilling overnight). Make this cake a day ahead for the best results, allowing you to relax and enjoy the festivities!
Nutritional Information for Candy Cane Icebox Cake
This Candy Cane Icebox Cake is not only a delightful holiday treat but also a fun way to indulge without the guilt! Knowing the nutritional values helps you enjoy it more consciously. Let’s break down what this dessert offers:
Calories
Each slice of this festive cake comes in at approximately 320 calories. It’s a decadent option for those special gatherings where you want to indulge just a bit.
Protein
You’ll find about 4 grams of protein per slice. While this isn’t a protein powerhouse, it adds a little extra nutritional value to your holiday dessert.
Carbohydrates
This candy cane icebox cake contains around 45 grams of carbohydrates. Perfect for a sugary treat that’s balanced by the layers of cream and peppermint throughout, making it all the more delightful!
FAQs about Candy Cane Icebox Cake
Creating a delicious Candy Cane Icebox Cake elicits joy during the festive season, but it also raises a slew of questions! Whether you’re a novice baker or a seasoned pro, understanding essential details can enhance your dessert-making experience. Let’s dive into some of the most common inquiries!
How long can I store Candy Cane Icebox Cake?
Once you’ve whipped up your delightful Candy Cane Icebox Cake, you might be tempted to dive right in! While you’re free to enjoy it immediately, storing it properly maximizes its freshness. Ideally, the cake can be kept in the refrigerator for up to 4-5 days. Make sure to cover it well with plastic wrap or aluminum foil to prevent it from absorbing any odors from the fridge.
Can I use different types of cookies?
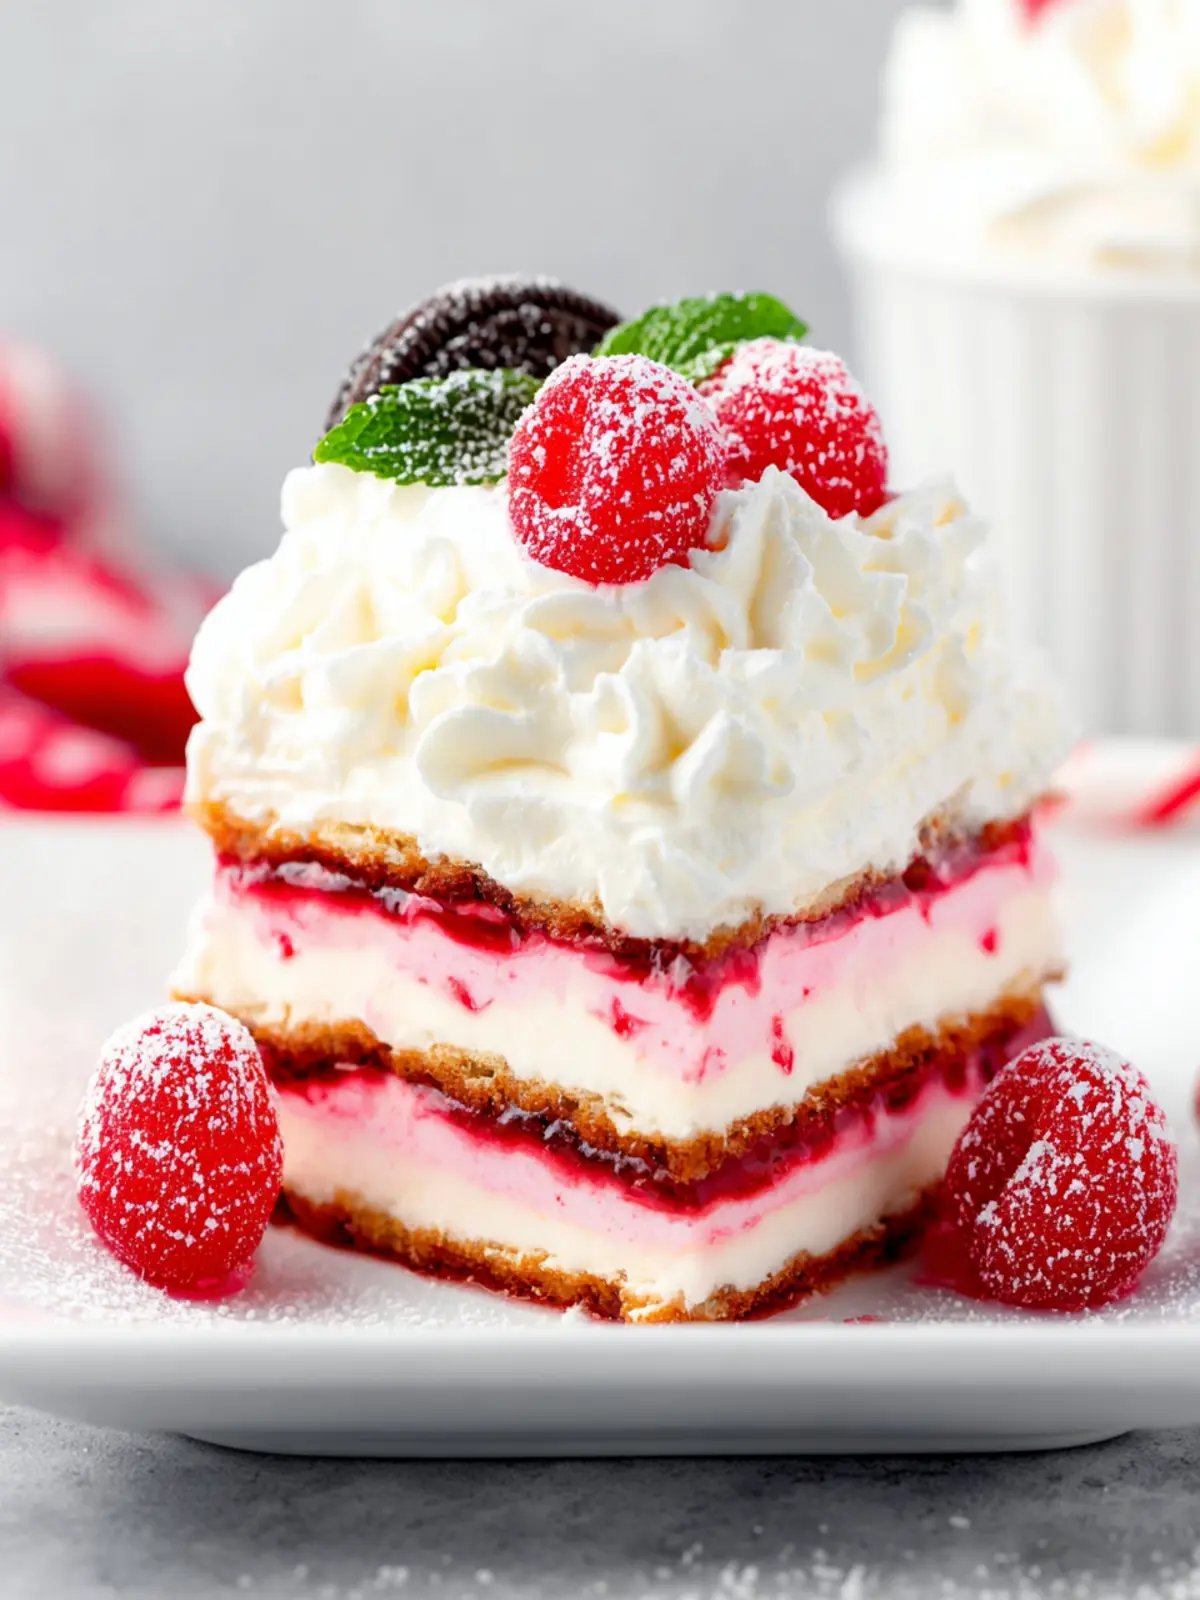
Absolutely! The beauty of a Candy Cane Icebox Cake lies in its flexibility. While traditional recipes often call for graham crackers, feel free to experiment with other cookie types like Oreos, vanilla wafers, or gingersnap cookies, depending on your preference. Each cookie adds a unique flavor and texture to your cake, making it a fun and customizable dessert.
Is there a way to make this dessert gluten-free?
Certainly! If you’re looking to make a gluten-free version of your Candy Cane Icebox Cake, opt for gluten-free cookies. Many brands offer gluten-free graham crackers or other cookie options that work perfectly. Just check the labels to ensure they are safe for your dietary needs. With a simple swap, you can create a delicious treat that everyone can enjoy!
By addressing these FAQs, you’re now better equipped to create an unforgettable Candy Cane Icebox Cake that will delight family and friends alike!
Conclusion on Candy Cane Icebox Cake
In closing, the candy cane icebox cake stands out as a festive delight that beautifully captures the essence of the holiday season. Its effortless assembly makes it a perfect dessert for those busy days leading up to celebrations. Let the crisp layers of peppermint and creamy filling work their magic as they harmonize in every bite. This cake not only pleases the eyes with its vibrant red and white stripes but also tickles the taste buds with a refreshing twist on traditional flavors. Whether served at a gathering or enjoyed at home, this indulgent treat is sure to be a hit!
Print
Peppermint Oreo Cake
- Total Time: 4 hours 30 minutes
- Yield: 9 servings 1x
- Diet: Vegetarian
Description
A delicious peppermint Oreo cake perfect for the holidays!
Ingredients
Scale
- 1 1/2 cups whipping cream
- 10 ounces full-fat cream cheese (brick style, softened to room temperature)
- 1 cup powdered sugar (sifted)
- 1–2 teaspoons peppermint extract (depending on how minty you like it, start with 1 teaspoon)
- red food coloring (I used gel, optional)
- 32 Oreo Cookies (you’ll likely need 50 cookies if using a 9x9 inch pan)
- 1/4 cup milk (for dipping the cookies in)
- 2/3 cup whipping cream (cold, from the fridge)
- 2–4 candy canes
Instructions
- Optionally, line an 8×8 (20×20 cm) or 9×9 inch (23×23 cm) pan with parchment paper, so that there’s an overhang around the edges. If you choose not to line the pan, you will slice and serve the cake from the pan.
- Place the whisk attachment and bowl of your stand mixer (or a large bowl) in the freezer for 10 minutes. Then beat the whipping cream (using the cold bowl and cold whisk attachment) until stiff peaks form. Set aside.
- In a separate large bowl, beat together the cream cheese, powdered sugar, peppermint extract and a few drops of red food coloring until smooth and creamy. Turn off the mixer a few times and scrape down the bottom and sides of the bowl to ensure there are no lumps. If using food coloring, the color should be slightly darker than you want the final product to be, because it will lighten after you add the whipped cream.
- Using a rubber spatula, fold the whipped cream from step 1 into the cream cheese mixture. Go gently. When finished, it should be an even consistency without streaks of white whipped cream.
- Pour the milk into a shallow bowl. Lightly dunk each cookie in the milk and shake off the excess. If you plan to keep the cake in the fridge overnight before serving, you could skip this step.
- Spread about 2-4 tablespoons of peppermint filling onto the bottom of the pan.
- Add a layer of Oreo cookies on top – for an 8×8 inch (20×20 cm) pan, you’ll do 4 rows of 4 cookies. For a 9×9 inch (23×23 cm) pan, you likely can fit 5 rows of 5 cookies.
- Spread about 1/2 of the remaining filling on top of the Oreo layer.
- Add a second layer of Oreo cookies – again doing 4 rows of 4 cookies, or 5 rows of 5 cookies.
- Spread the remaining peppermint filling on top.
- Cover the pan and place in the fridge to set for at least 4 hours.
- When ready to serve, beat the additional 2/3 cup whipping cream until stiff peaks form. Spread into an even layer on top of the cake.
- Sprinkle the top with crushed candy canes. Note – only do this step right before serving. If the cake is stored with crushed candy canes in the fridge, the candy canes can melt or bleed color due to condensation.
- When ready to slice, if you lined the pan with parchment paper, carefully lift out of the pan using the overhang of the parchment and place on a cutting board.
- Slice the cake using a thin knife, wiping off the knife with a clean, damp cloth or clean paper towel in between each slice for clean cuts. Lift using a square spatula.
Notes
- This cake is best served fresh, especially if topped with candy canes.
- If you want a stronger mint flavor, feel free to add more peppermint extract.
- Make sure all your ingredients are at the right temperature for best results.
- Prep Time: 30 minutes
- Cook Time: 0 minutes
- Category: Dessert
- Method: No-Bake
- Cuisine: American
Nutrition
- Serving Size: 1 slice
- Calories: 350
- Sugar: 30g
- Sodium: 150mg
- Fat: 24g
- Saturated Fat: 15g
- Unsaturated Fat: 8g
- Trans Fat: 0g
- Carbohydrates: 33g
- Fiber: 1g
- Protein: 4g
- Cholesterol: 70mg